April 29, 2010

Crock Pot BBQ Pork Ribs Recipe

Pork is served rarely in our home, but when it is, this is one of my favorite recipes.

What you will need:   a crock pot, some pork ribs, a sweet onion, an apple, salt, pepper, and a jar of your favorite bbq sauce.


Start by seasoning the ribs with salt and pepper.  I cut the slab of ribs in half so they fit nicely in the crock pot.


Next, grab your onion.  Cut off the ends, peel off the skin, cut it down the middle, and slice.


Place the seasoned ribs into the crock pot and cover with sliced onion.


Add the bbq sauce, and about a half cup of water.


Next, slice an apple.  I have a favorite way of cutting it off the core and then slicing.


Anyway of slicing an apple will work, though.   Toss the apples on top of the ribs, too.


Turn the crock pot on low and cook for 8 to 10 hours.  Serve this with a side of cole slaw and a side of dipping sauce.  Enjoy!


Prep Time:  15 minutes   Cook Time:  8 to 10 hours  Servings:  2

Ingredients

1 slab of baby back pork ribs
salt
pepper
1 small sweet onion
1 apple
1 jar bbq sauce

Preparation

Slice the slab of ribs in half, season with salt and pepper, and place in the crock pot.

Slice the onion and the apple.

Place the onion on top of the ribs, followed by ¾ of the jar of bbq sauce (reserve the rest for dipping), ½ cup of water, and the sliced apples.

Cook on low heat for 8 to 10 hours.  In a hurry, cook on high heat 4 to 6 hours.

Serve with cole slaw or a baked potato with additional bbq sauce on the side for dipping.  Enjoy.

April 25, 2010

Citrus Herb Marinade Recipe for Filet Mignon

The weather has been nice, and the flowers are planted in the garden, so naturally it is time to bust open the grill.  To start this year off right, we made filet mignon marinated in a citrus herb sauce.

To start, grab a small bunch of fresh herbs.  I used oregano, thyme, and rosemary because they are abundantly available from the garden.


Pull them off the stems, wash, and chop with a large clove of garlic.


Toss these into a plastic bag with a zipper.


Set inside a large liquid measuring cup:  it will help not make a mess as you add the olive oil.  Oh hey, add some olive oil.


Note the princesses in the back helping to make dinner.

Next toss in some Worcestershire sauce, Kosher salt, and coarse ground pepper.


Then squeeze in the juice from one lime.


Open up your steaks, and grab some tongs.


Place the steaks in the bag,


and give them a good mixing.  Put the bag back into the measuring cup, and let them sit in the fridge for at least four hours.


Grill the steaks to your liking, and serve with a big old loaded potato, or a salad if you prefer something less filling.


Enjoy!

Prep Time:  10 minutes, plus a minimum 4 hours marinating time  Cook Time:  10 minutes  Servings:  2

Ingredients

2 tablespoons fresh herbs, chopped
1 large clove of garlic, chopped
¼ cup Extra Virgin Olive Oil
1 tablespoon Worcestershire sauce
1 teaspoon Kosher salt
½ teaspoon salt
¼ teaspoon coarse ground black pepper
juice from 1 lime
2 fillet mignon steaks, 6oz. each

 Preparation
 
Mix all ingredients in a large plastic Ziplock bag and refrigerate for a minimum of four hours.  Over night is best.  Grill over medium high heat until steaks are cooked to desired temperature. 

April 20, 2010

Ballerina Sweater Take Two: Complete!

About three months ago, I began making a ballet wrap sweater for my 3 year old daughter.  I have made many sweaters, some from patterns, and a few from my own imagination, and thought  would be a fun, simple project.  After all, I had been hording this beautiful Debbie Bliss Baby Cashmerino wool for almost a year.

The nightmare of this project began as soon as I pulled the label off the yarn and began winding it into balls.  There were several, more than acceptable, places in which the yarn was unraveling, noily, or knotted.  Each of the four skeins of yarn had issues, however, I chose to just cut out the bad parts, and go with it.  I had just finished a challenging blanket using the same yarn, and had no problems with any of those five skeins.  

After creating a 4 inch gauge swatch, measuring a few favorite sweaters, and a very cooperative daughter, I had all the materials, and measurements needed to design.  The inspiration to design, as opposed to follow a pattern, came from a new book Design It, Knit It:  Secrets from the Designer's Studio by Debbie Bliss that I had just purchased.  Confident in my calculations, I put the needles to the yarn, and a month later, had all the pieces ready for assembly.  Upon completing the shoulder seams, it was possible something was wrong.  The two front panels just did not lay correct.  Once the sleeves were attached, there was no denying something was terribly wrong with the design.  The shoulders did not lay correctly, the neck seemed too narrow.  My daughter tried it on, and there was no way to make it work, much to both of our disappointment.   For days I poured over my measurements and calculations, but was unable to determine the error. So with much lamentation, I pulled it all out, and once again returned the yarn to balls. 

This time, with the help of a pattern from Adorable Knits for Tots by Zoë Mellor, I set needles to the yarn again, although with much less enthusiasm.  I found the entire process to be tedious, I was annoyed with all the breaks in the yarn, but six weeks later all the pieces were completed.  To be honest, it wasn't my best work, but it was complete, and considering the condition of the materials, I was pleased.  


Trying out a blocking technique I discovered on Chic Knits made assembly much easier.  All the pieces of the sweater were rolled up into a damp towel and allowed to dry over night.


An odd process, really.  It is unbelievable that there is an entire toddler sized sweater wrapped up in that thing. 

The front edges were put into place, and it was really beginning to look like a sweater, when much to my dismay I realized I did not have enough yarn to complete the assembly!  The pattern called for four skeins of this specific yarn, and that is what I had, well minus what was bad and had to be removed.  Just about in tears, I called my friend, who was also making the baby blanket I had just finished, and begged for just a few yards of yarn.  Luckily she likes me enough to share.  The assembly was complete!


A few finishing touches of satin ribbon, et voilà, something beautiful is born.


Fortunately she has irresistible, big, brown eyes that smile when she is happy making it worth every stitch.


April 19, 2010

Chocolate Chip Cookie Recipe

Chocolate chip cookies are my favorite cookie.  Nothing makes the house smell more like home than a batch of these lovelies baking in the oven.

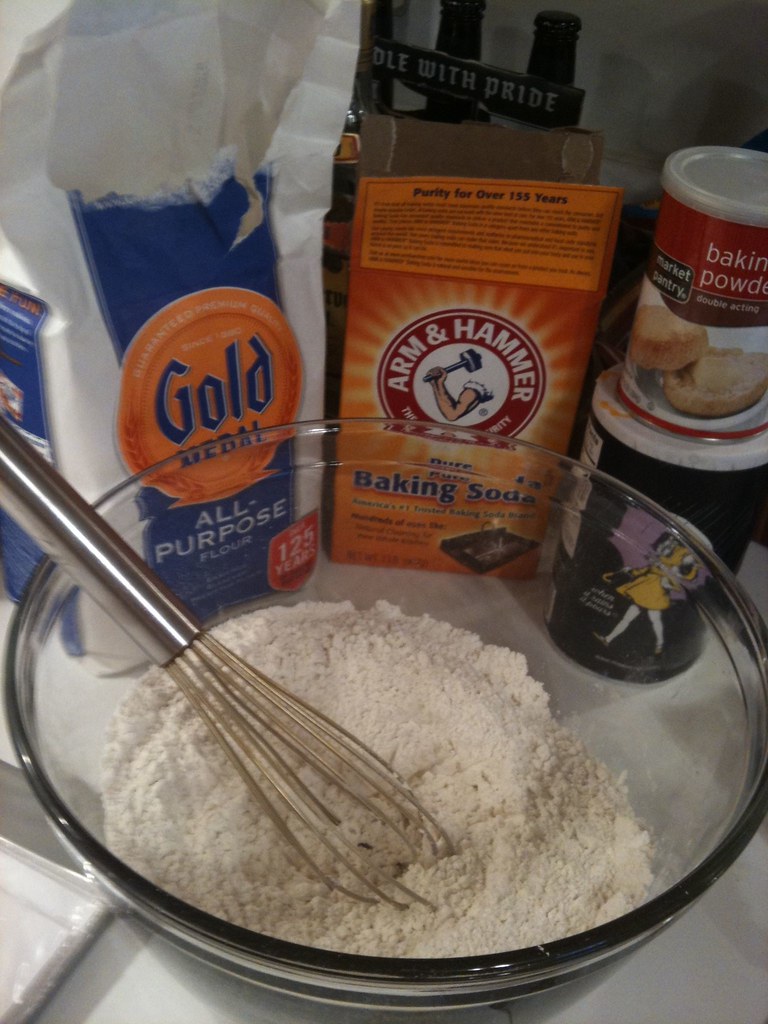
To begin, preheat the oven to 350°F and  round up the usual suspects:  all purpose flour, baking soda, baking powder, and salt.  Mix them up in a medium sized bowl, and set aside.


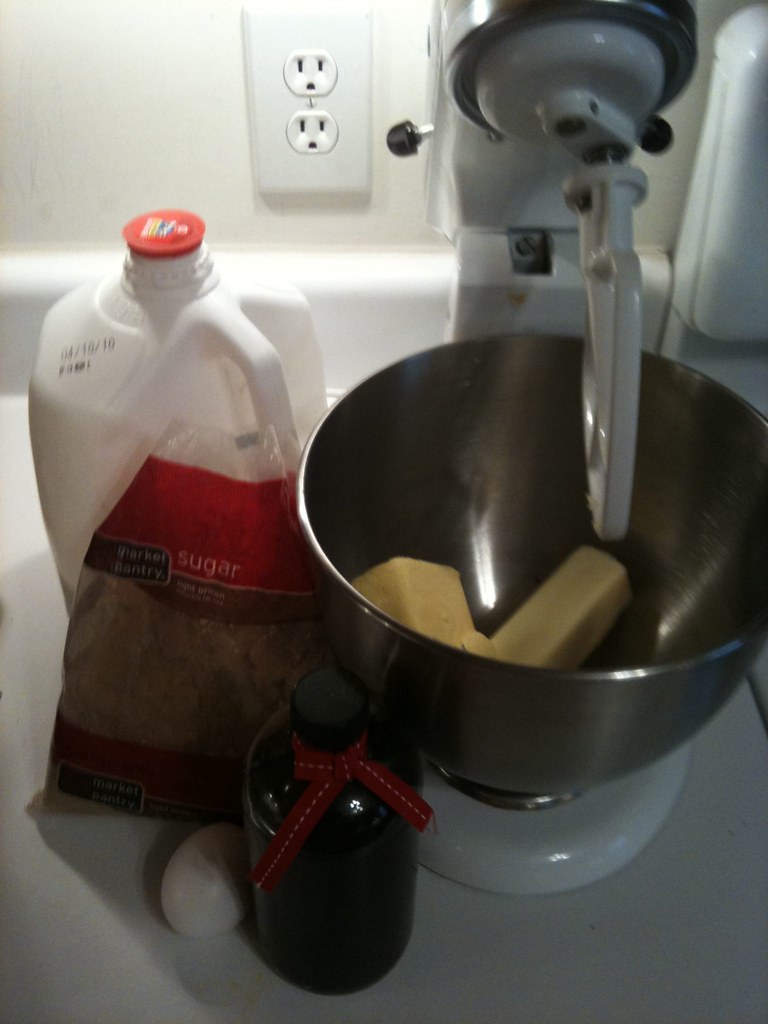
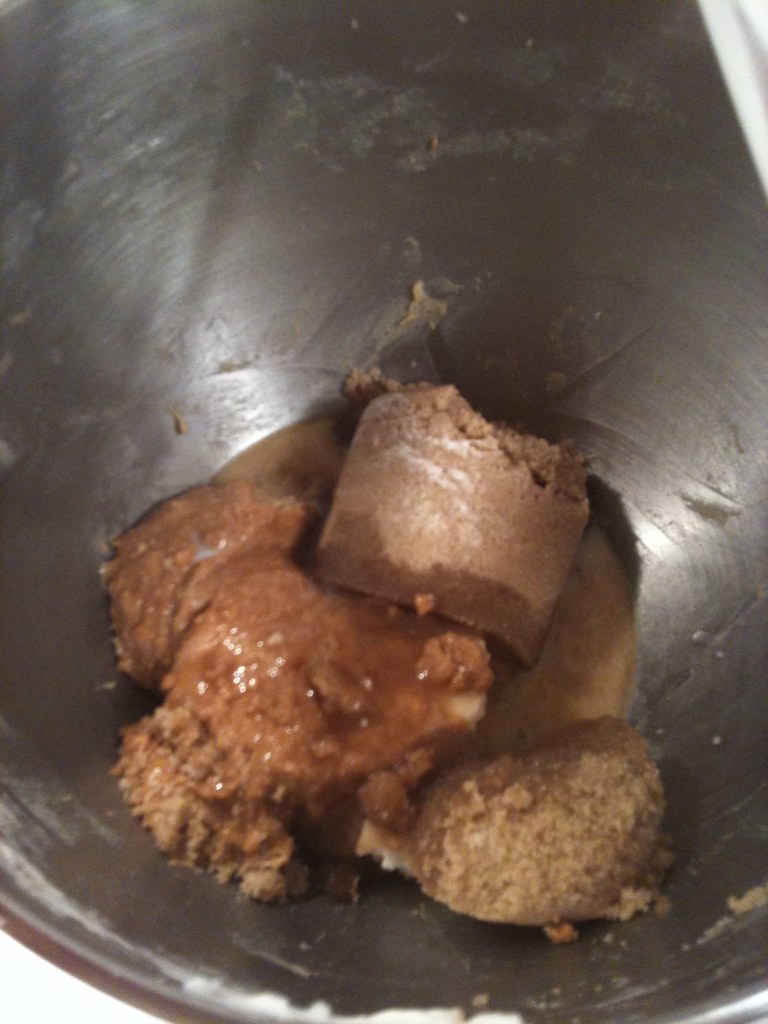
Next, get the second group of rascals:  butter flavored shortening, butter, light brown sugar, milk, vanilla, and egg.  Many recipes call for butter, or shortening, however I have found mixing them gives the perfect consistency of a crunchy outside with a chewy inside.


Whip the butter and shortening together first until creamy.  Add the sugar, milk, and vanilla and blend. 
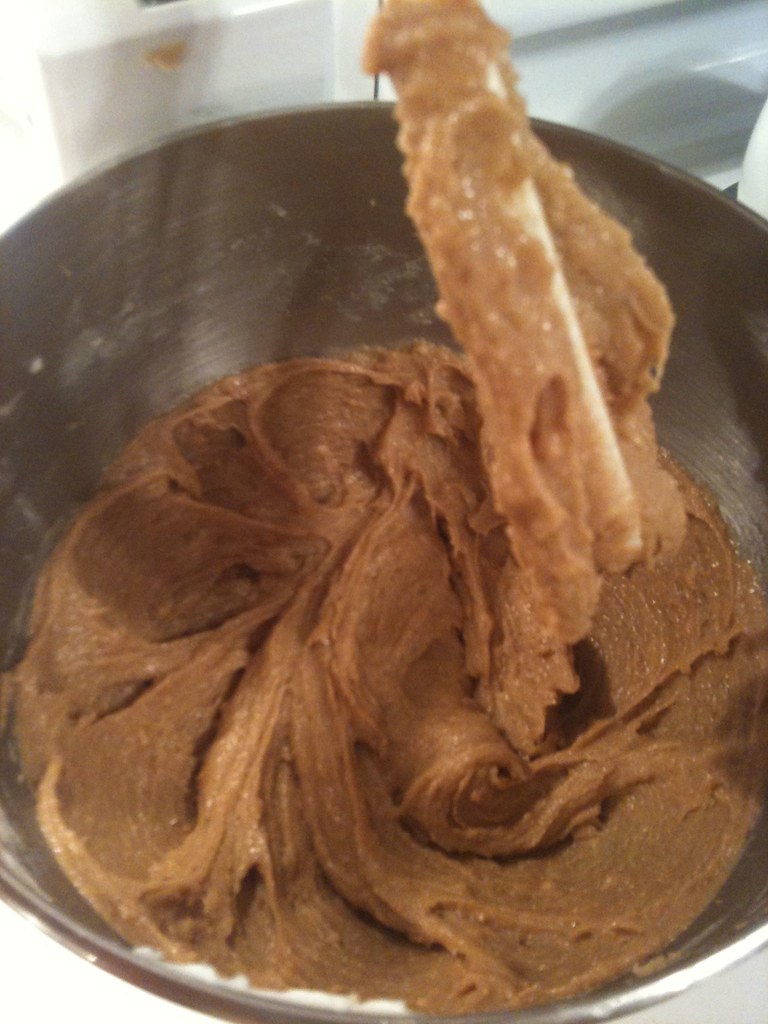
Lastly add the egg until just blended.  It will look creamy and delicious.


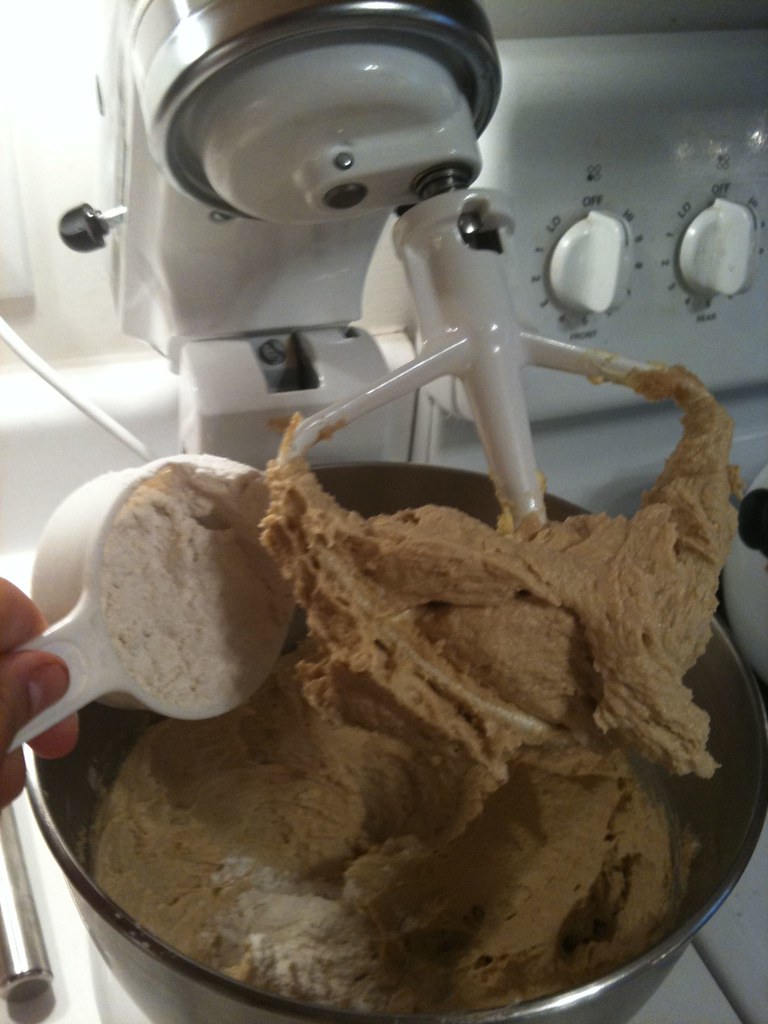
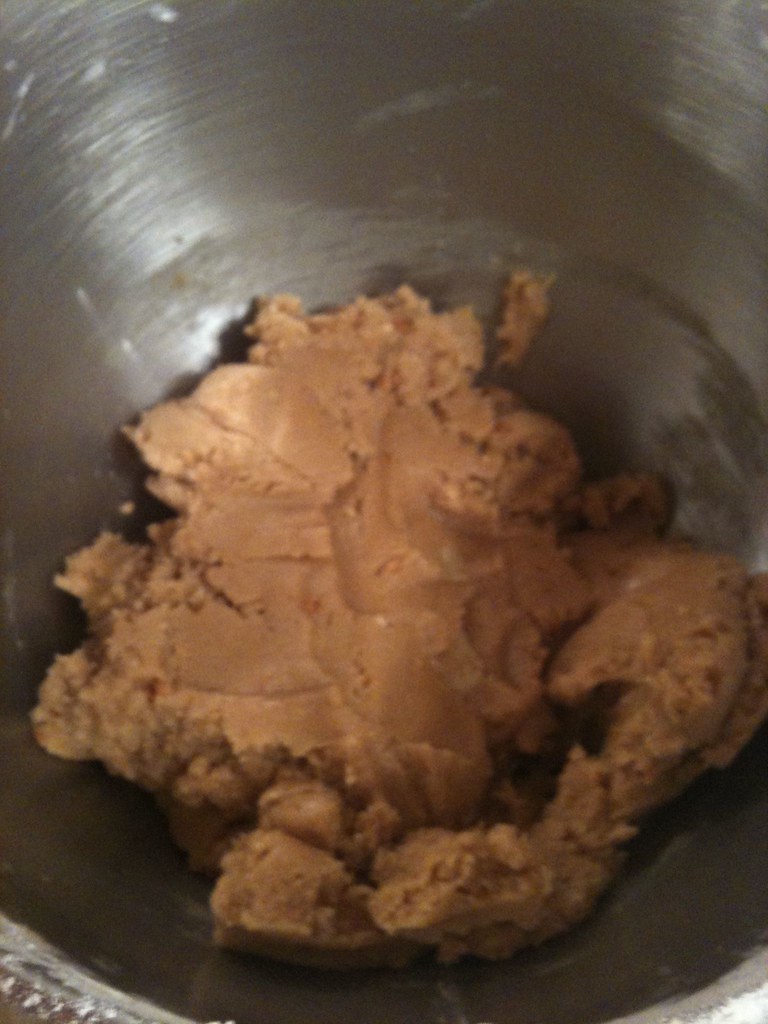
Add the dry ingredients to the sugar mixture a half cup at a time, until all has been mixed.


Place the dough in a medium bowl and mix in the chocolate chips by hand.  An excellent way to make these even more delicious is using the triple chip trick:  ½ cup each semi sweet chocolate, white chocolate, and butterscotch chips.  I only had the semi sweet chips on hand, so that is what you see in the picture.


Using a small scoop, create even portions of dough.


Then roll them into balls by hand.  This will make very pretty cookies.

**Note:  For portion control, I only bake 1 or 2 dozen cookies at a time.  Once I have them rolled into balls, I pop them into the freezer on a cookie sheet for 30 minutes or until frozen.  The the dough balls can then be put into a plastic freezer bag, and baked as desired.  I put them directly from freezer to cookie sheet and bake an additional 2 minutes.**


Bake 12 to 15 minutes until cookies are golden brown.  If you prefer a more chewy cookie bake 12 minutes.  If you prefer more crunch bake 15 minutes.


Allow them to cool for 2 minutes on the cookie sheet before removing them to cool completely.


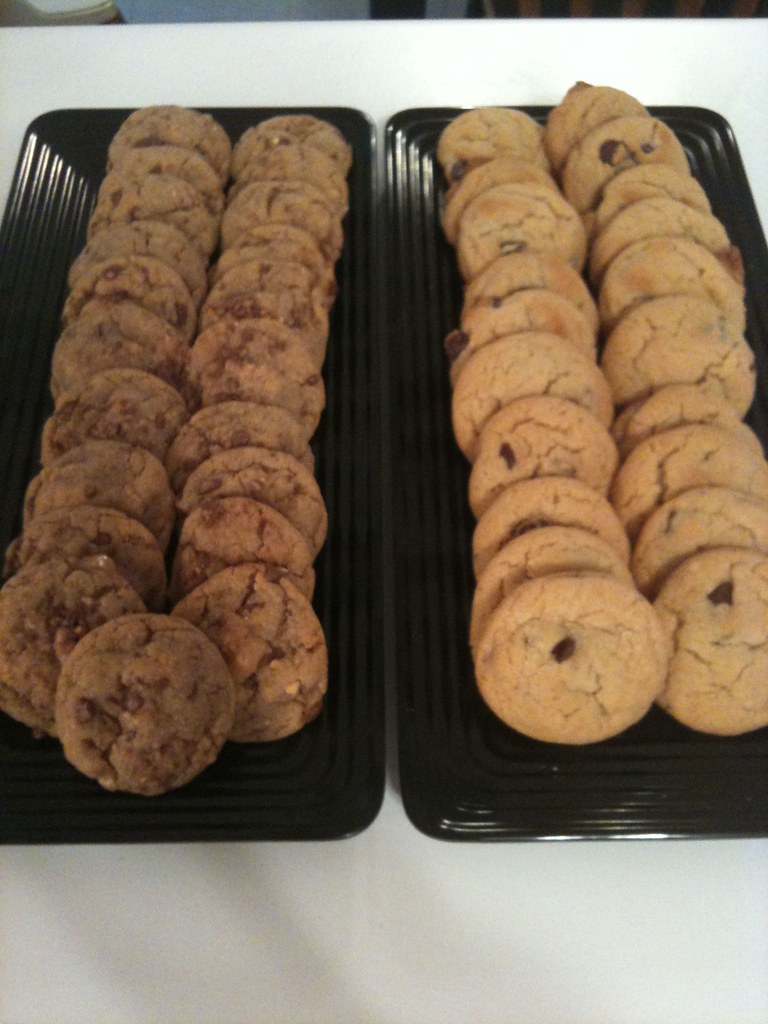
The cookies on the left are Peanut Butter Toffee and the cookies on the right are the chocolate chip.

Grab a big glass of milk, and enjoy.


Prep Time:  15 minutes  Cook Time:  60 minutes  Servings:  4 dozen

Ingredients

½ cup butter, unsalted and softened
½ cup butter flavored shortening
1¼ cup light brown sugar, packed
2 teaspoons milk
1 tablespoon vanilla
1 egg
2½ cups all purpose flour
½ teaspoon baking soda
½ teaspoon baking powder
½ teaspoon salt
1½ to 2 cups chocolate chips

Heat the oven to 350°F.

Combine flour, baking soda, baking powder, and salt in a medium bowl.  Set aside.

Combine butter and shortening until creamy.  Add brown sugar, milk, and vanilla.  Beat at medium speed with an electric mixer until well blended.  Beat an egg into the creamed mixture

Add the dry ingredients to the creamed mixture ½ cup at a time until blended.  Add the chocolate chips by hand.

Drop dough onto ungreased cookie sheet using a small scoop about 3 inches apart.  Roll dough into balls by hand.  Bake one sheet at a time on middle rack for 12 to 15 minutes until cookies are light brown on top. 

Cool two minutes on cookie sheet, then remove cookies to foil or a cooling rack to cool completely.


April 15, 2010

Chicken and Dumplings Recipe

Chicken and dumplings is the one dish that everyone in the family will eat.  It is delicious, comforting, and when prepared my way, guilt free.


To begin, get a large sauce pan heating over medium heat with some olive oil.  To this add some diced yellow onion.  I prefer Vadalia when available. 


Stir occasionally and cook until they become translucent.  Once this happens, add some celery for company.


Allow these to simmer for two or three minutes, then add some carrots, salt, pepper, bay leaf, and shredded chicken.  I took the picture before putting in the chicken, but believe me, this is where you want to throw it in the pot.

**Note:  On the topic of chicken, I use precooked shredded chicken that I make in the crock pot.  A rotisserie chicken can be used, or just add chopped boneless breast at this point and sautée until chicken is fully cooked.**


April 14, 2010

Peanut Butter Toffee Cookies Recipe

Today for no other reason than to have fun, cookies were baked in the middle of the afternoon.

To start, preheat the oven to 375°F.

Next, in a large bowl combine shortening, peanut butter, light brown sugar, milk, and vanilla extract.

This looks horrible, I realize, especially since I used ¼ cup chunky peanut butter.  Trust me, and mix it up. Also throw in an egg, and beat just until blended.


Ah, there, isn't that better?  Glad you trusted me.

In a separate bowl, whisk together flour, baking soda, and salt.  Add this a half cup at a time to the peanut butter mixture, until all of it has been incorporated.

**Tip:  do not confuse the lock lever on your mixer with the speed lever, as I did, or the clean up will be horrific.**

Lastly, mix  in the toffee pieces by hand.


Using a small scoop, make balls of dough, and roll them in some excess toffee bits.  Place them on an ungreased cookie sheet about 2 inches apart.


Bake them for 8 minutes, then let them cool for 2 minutes on a wire rack.


Remove the cookies to a plate to finish cooling.

Once cool, enjoy one immediately.  Well, if you can only have one you are strong.  I do apologize, for they truly are obscenely delicious, and totally worth the clean up if you miss the tip.

Ingredients

½ cup shortening
¾ cup peanut butter (I used ½ cup creamy and ¼ cup chunky because I like the crunch)
1¼ cups packed light brown sugar
3 tablespoons milk
1 tablespoon vanilla extract
1 egg
1½ cups all-purpose flour
¾ teaspoon baking soda
¾ teaspoon salt
1½ cups toffee bits (I used the Heath Bar pieces found in the baking aisle near the chocolate chips)

Preparation

Heat the oven to 375°

Beat the shortening, peanut butter, brown sugar, milk, and vanilla until well blended.  Add the egg and beant until just blended.

Combine flour, baking soda, and salt;  gradually beat into the peanut butter mixture 1/2 cup at a time.  Stir in 1 cup of the toffee bits, and save the rest for topping.

Using a small scoop, make balls of dough and roll them in the remaining toffee bits.  Place on an ungreased cookie sheet about 2 inches apart. Bake for 8 minutes, and let cool on the cookie sheet for 2 minutes.  Remove cookies to a wire rack or plate until they cool completely.

Yields 3 to 4 dozen cookies depending on what size scoop used.

April 8, 2010

Crock Pot Meat Sauce for Pasta Recipe

This is a delicious gem that I stumbled upon on Taste of Home.

Start off by browning one pound of ground beef (93/7) and one pound of mild Italian sausage in a large pan.


Next toss in one medium green pepper, one medium onion, one cup carrots, and two cloves of garlic all finely chopped.

Mix in one tablespoon of brown sugar, one tablespoon of Italian seasoning, 1/2 teaspoon salt, and 1/4 teaspoon pepper.  Transfer all ingredients to a large crock pot along with one can (28 ounces) crushed tomatoes, undrained, one can (8 ounces) tomato sauce, one can (6 ounces) tomato paste, and one cup of water.

Cook on low for 8 to 10 hours, or if you are in a hurry like I was tonight, 4 hours on high.  Serve over any pasta, tonight we chose penne, and top with Parmesan cheese.  Enjoy.

April 7, 2010

Quick and Easy Wash Cloths: Three

The third of a series of quick and easy wash cloths is complete.  This project is worked in garter stitch, using increase and decrease techniques. 


Using Paton's Grace cotton yarn and US size 5 needles cast on 3 stitches.

  • The first row, knit all three stitches.  
  • The second row, knit the first stitch, make one stitch (increase), knit the next stitch, make one stitch, then knit the last stitch.  There are now five stitches. 
  • The third row, and all other odd rows, knit all stitches.  
  • The fourth row, and all other even rows, knit one stitch, make one, knit all stitches except the last in the row, make one, knit last stitch.  There are now seven stitches. 
  • Continue working the increase pattern until you have 61 stitches, ending with an odd row. Pictured in green.
  •  Next knit the first stitch, slip slip knit (decrease), knit all stitches until three remain, knit two together by inserting the right needle into the left stitch of the pair, knit the last stitch.  There are now 59 stitches. 
  • Knit all stitches in the next row. 
  • Continue working the decrease pattern until you have  5 stitches remaining. Pictured in brown.
  • Slip slip knit, knit one stitch, knit two stitches together.
  • Knit the last three stitches together, and pull yarn through the last stitch.
** Place a safety pin on the increase/decrease side of the wash cloth as a reminder**