I have been a little crazy this past month, and have made bread bowls from scratch at least once a week. The
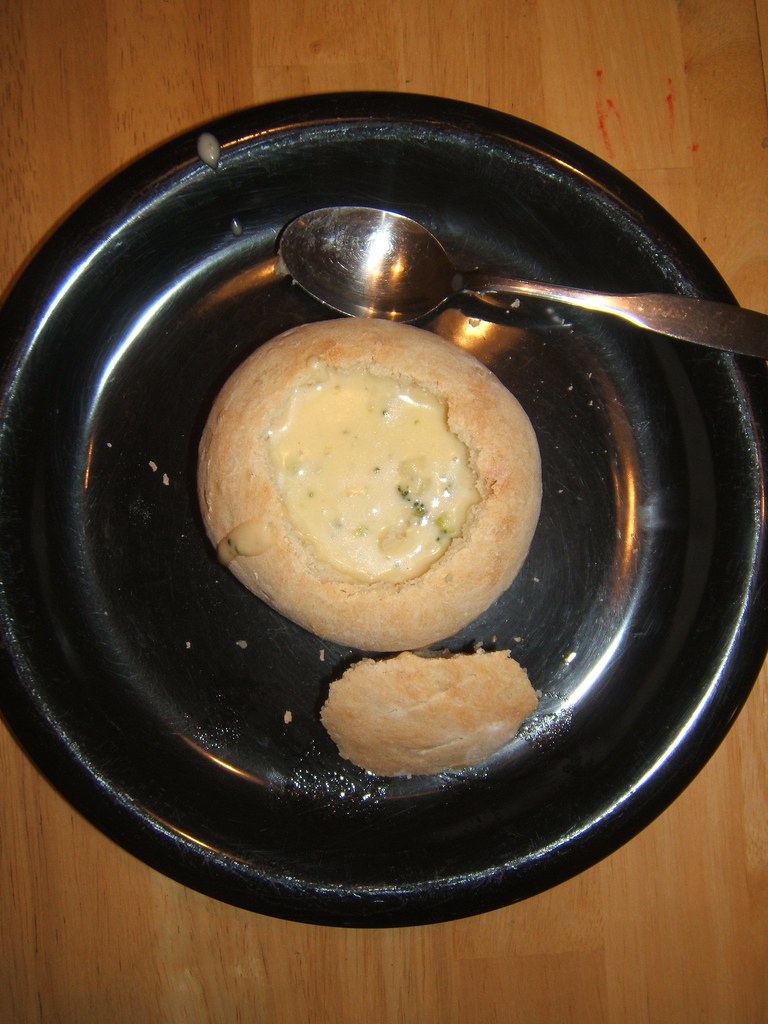
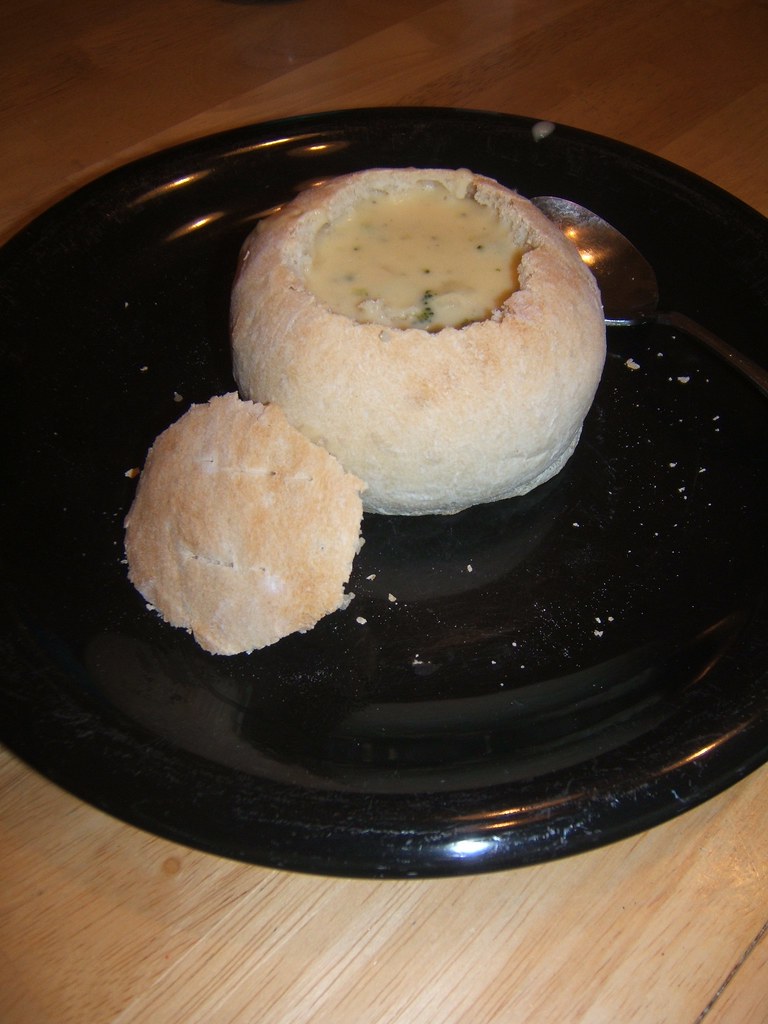
Crock Pot Ham and Potato Soup is delicious in a bread bowl, and the husband has been perfecting his beer cheese soup skills, which is also amazing in a fresh bread bowl.
Admittedly if you notice my backside a bit fuller, the bread bowls are the reason.
Until recently, my favorite recipe for bread bowls was from the
Betty Crocker's Best Bread Machine Cookbook. In fact, it was my only recipe. The dough is easy to make in the bread machine, and it is easy to handle. The bowl is formed by molding the dough over oven safe ramekins and baking. They taste good, look cute, but are a bit small. To try to make a slightly larger bowl I tried bigger ramekins, however the dough seemed to get stretched too thin on the bottom and not bake properly, or hold soup well.
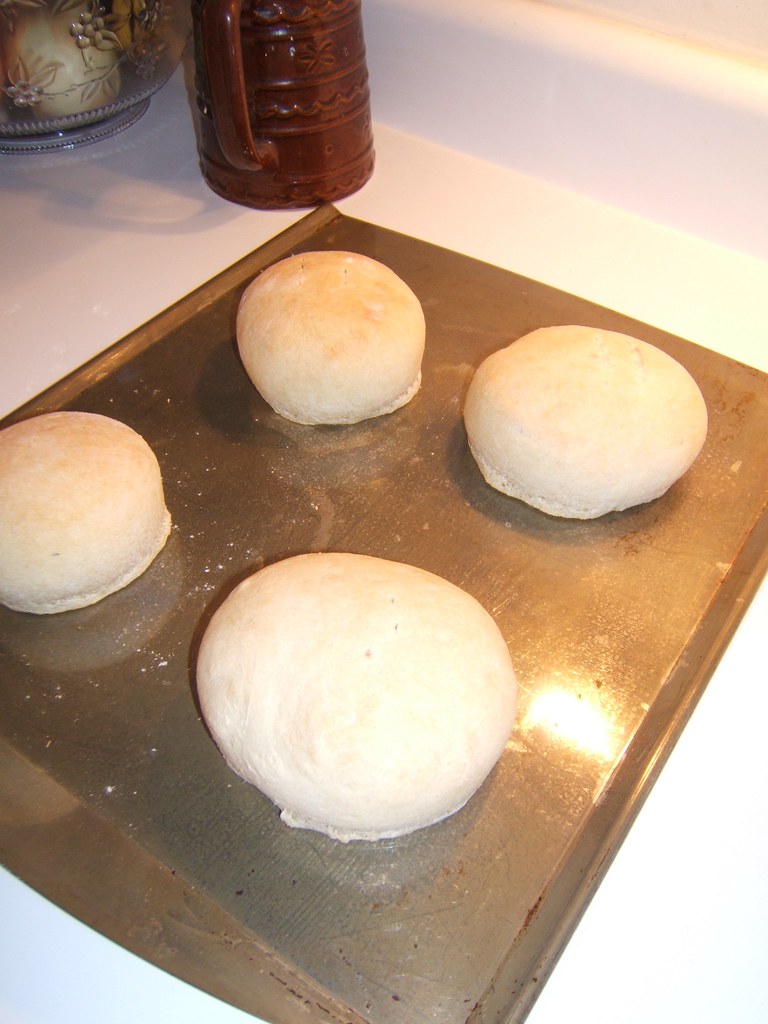
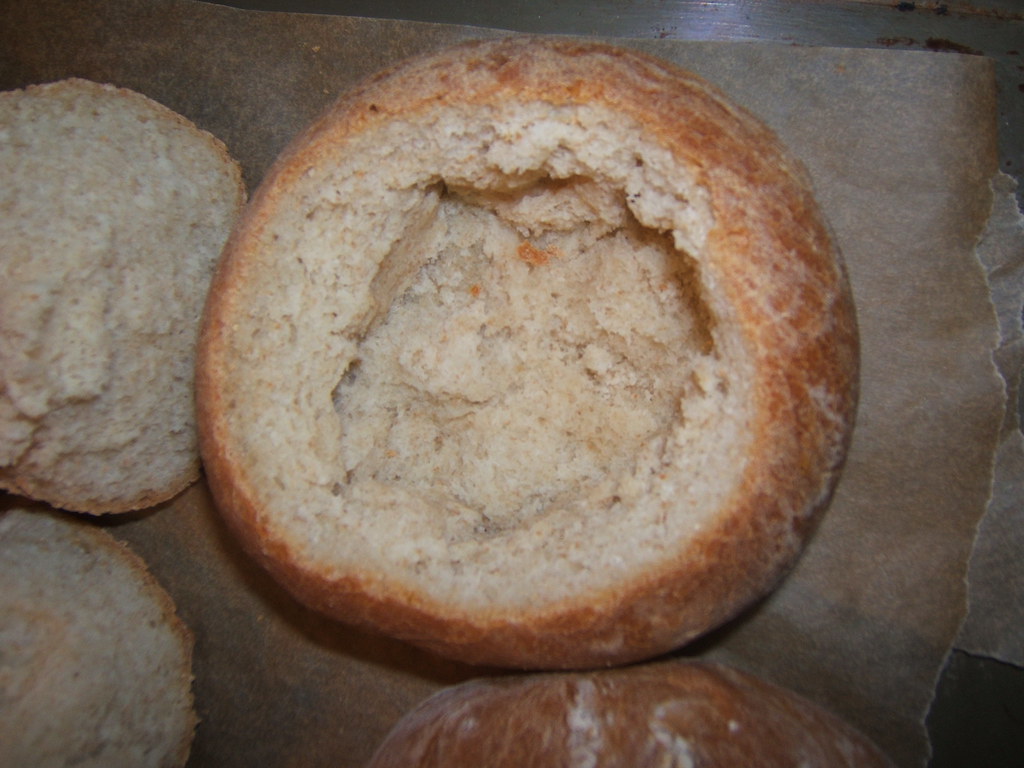
Next, I decided I would try to just form small round loaves with the dough,
and hollow them out.
This was better, however, the bread ended up a bit too chewy.
After a month of searching, baking, and eating, it has been decided that the following recipe is my favorite.
Artisan Bread Bowls
3 3/4 cups all-purpose flour
1/2 cup whole wheat flour
1/4 cup nonfat dry milk
2 teaspoons yeast
2 teaspoons salt
2 tablespoons oil
1 1/2 cups lukewarm water, enough to make a smooth, soft dough
Let yeast dissolve in warm water until creamy, about 5 minutes. Add the rest of the ingredients—by hand, mixer or bread machine— and knead till you've created a smooth dough.
Allow the dough to rise, covered, for 45 minutes; it should become puffy. Divide the dough into 5-6 pieces, depending on how large you want your bread bowl to be. Roll each piece into a ball. Place on a lightly greased or parchment covered baking sheet.
Cover the bread bowls with greased plastic wrap. Refrigerate for 4 hours (or up to 24 hours); this step will give the bread bowls extra flavor, and a delightfully crisp-chewy texture. Two or more hours before serving, remove the bread bowls from the refrigerator. Uncover, and let them sit for about one hour while you preheat the oven to 425°F.
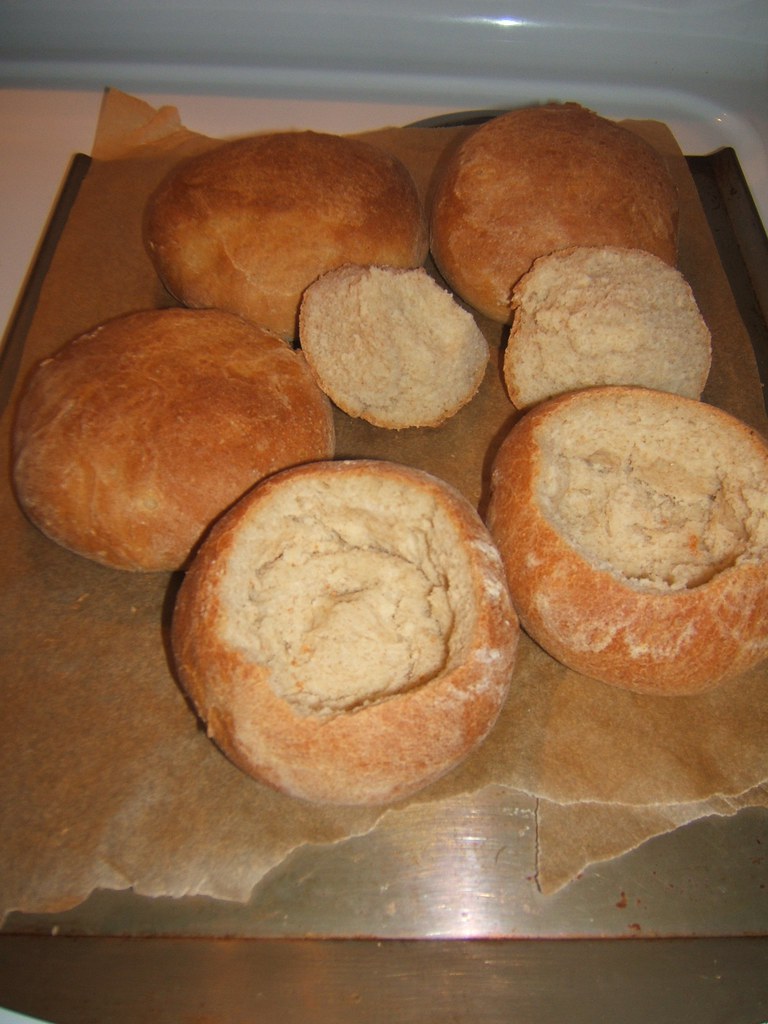
Just before baking, slash the top surface of the bowls several times with a sharp knife to allow them to expand. Bake for 22 to 28 minutes, until the bowls are deep brown, and sound hollow when thumped on the bottom. Remove from the oven, and cool on a rack.
I still use my bread machine to make the dough, thus skip the part crossed out. This dough is a bit more challenging to handle, but the bowls come out beautiful, big, and delicious.
The next time you plan on making soup, give some homemade bread bowls a try. They really bump up the fun factor. Enjoy!
Tip: These bowls also freeze well and are easy to reheat. Thus they can be made whenever you have the time.